
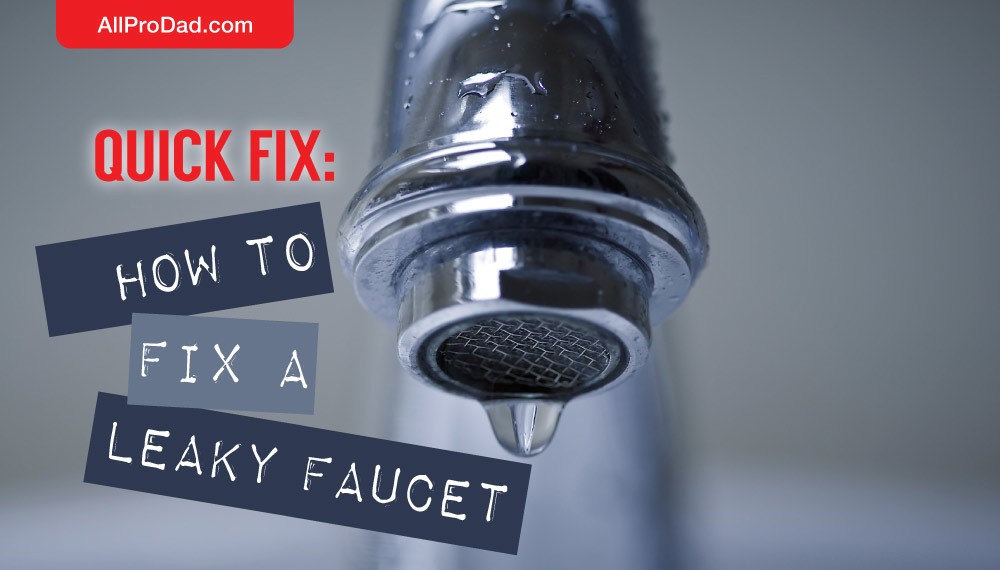
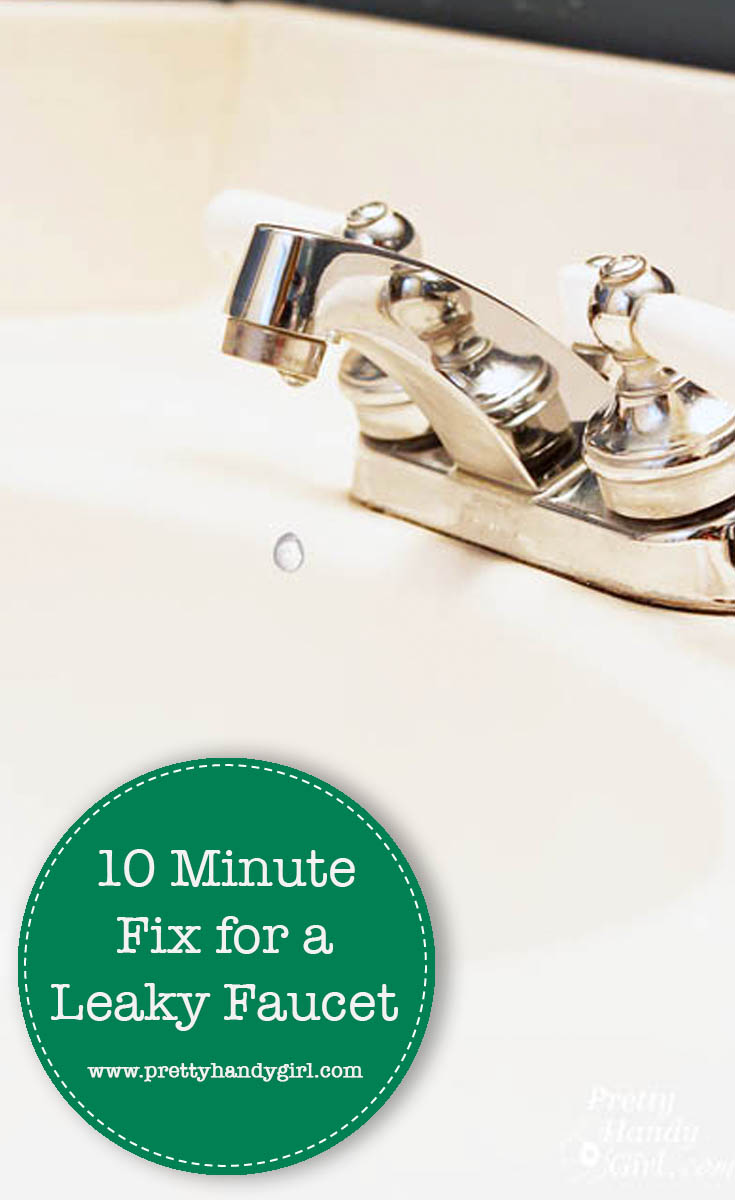
Let's face it, a leaky faucet is one of the most annoying things you can have in your home. Not only does it waste water, but it can also drive you crazy with the constant dripping sound. But don't worry, fixing a leaky faucet is easier than you think, and it can be done in 15 minutes or less. In this article, we'll walk you through the steps to fix a leaky faucet, so you can save water and your sanity.
What You'll Need
Before we dive into the steps, let's take a look at what you'll need to fix a leaky faucet. You'll need a few basic tools, such as a wrench, pliers, and a screwdriver. You may also need to replace the worn-out parts, such as the O-ring or gasket, depending on the type of faucet you have. Don't worry if you're not sure what these parts are, we'll explain them in more detail later. For now, let's just focus on gathering the necessary tools and materials.
Step 1: Turn Off the Water Supply
The first step in fixing a leaky faucet is to turn off the water supply. This is an important step, as it will prevent water from flowing to the faucet while you're working on it. To turn off the water supply, locate the shut-off valves under the sink and turn them clockwise. You should feel the water pressure decreasing as you turn the valves. Once you've turned off the water supply, open the faucet to drain the water from the pipes. This will make it easier to work on the faucet without water flowing everywhere.
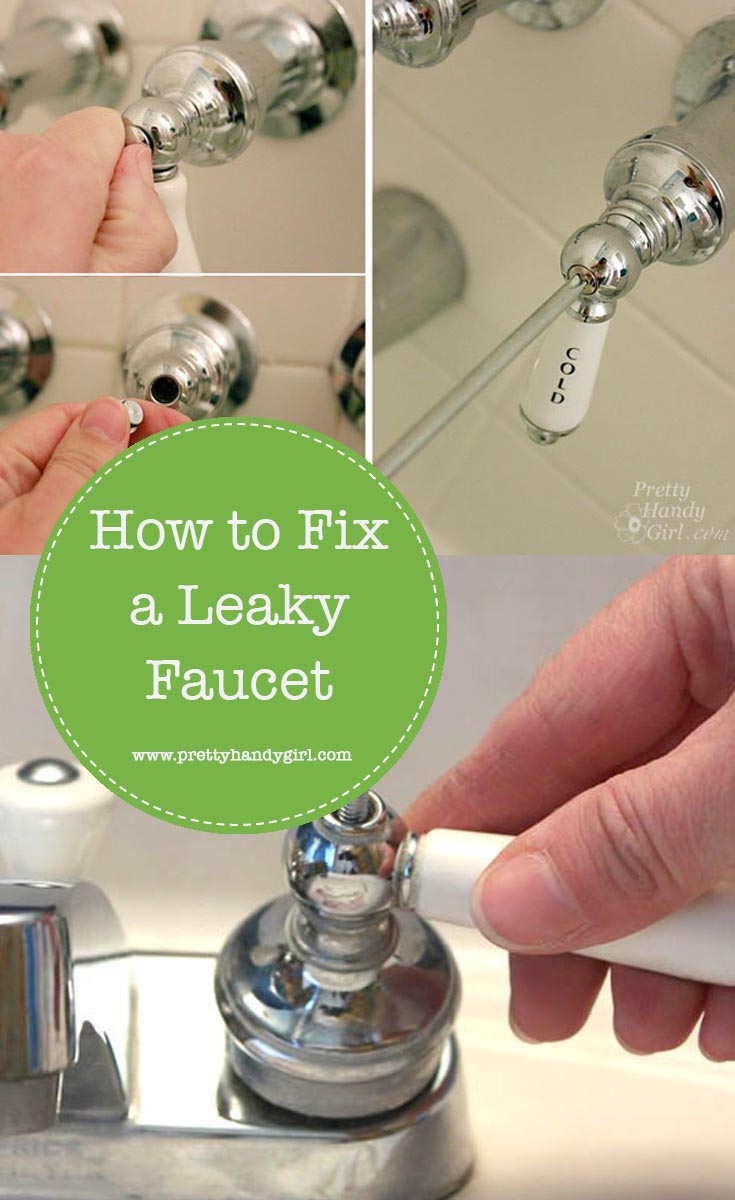
Step 2: Disassemble the Faucet
Now that the water supply is turned off, it's time to disassemble the faucet. This will give you access to the parts that are causing the leak. The disassembly process will vary depending on the type of faucet you have. For a standard faucet, you'll need to remove the handle or knob to access the stem and O-ring. You may need to use a wrench or pliers to loosen any corroded or stuck parts. Be careful not to damage any of the parts as you disassemble the faucet.
Identifying the Source of the Leak
Once you've disassembled the faucet, it's time to identify the source of the leak. The most common causes of a leaky faucet are worn-out O-rings or gaskets. These parts can become damaged over time, allowing water to seep through and cause a leak. To identify the source of the leak, look for any signs of water damage or mineral buildup on the parts. You can also use a flashlight to shine a light through the faucet and see where the water is coming from.
Step 3: Replace the Worn-Out Parts
Now that you've identified the source of the leak, it's time to replace the worn-out parts. This will usually involve replacing the O-ring or gasket. To replace these parts, simply remove the old one and install a new one in its place. Make sure to apply a small amount of plumber's grease to the new part to help it seal properly. If you're not sure which part to replace, it's always a good idea to consult the manufacturer's instructions or seek the help of a professional plumber.

Step 4: Reassemble the Faucet
Now that you've replaced the worn-out parts, it's time to reassemble the faucet. This is the reverse process of disassembling it. Make sure to tighten any loose parts securely, but don't overtighten them, as this can damage the faucet. Once you've reassembled the faucet, turn the water supply back on and check for leaks. If the faucet is still leaking, you may need to adjust the parts or replace them again.
Tips and Tricks
Fixing a leaky faucet can be a bit tricky, but with a few tips and tricks, you can make the process easier. One of the most important things to keep in mind is to turn off the water supply before starting work on the faucet. This will prevent water from flowing to the faucet and making a mess. You should also use a wrench or pliers to loosen any corroded or stuck parts, as this can help prevent damage to the faucet. Finally, make sure to apply a small amount of plumber's grease to any new parts you install, as this will help them seal properly.
Common Mistakes to Avoid
When fixing a leaky faucet, there are a few common mistakes to avoid. One of the most common mistakes is not turning off the water supply before starting work on the faucet. This can cause water to flow to the faucet and make a mess, making it more difficult to fix the leak. Another common mistake is using the wrong tools or parts, which can damage the faucet and make it more difficult to fix. Finally, not applying enough plumber's grease to the new parts can cause them to leak, which can lead to more problems down the road.
Conclusion
Fixing a leaky faucet is a relatively simple process that can be done in 15 minutes or less. By following the steps outlined in this article, you can save water and your sanity, and avoid the hassle and expense of calling a professional plumber. Remember to always turn off the water supply before starting work on the faucet, and use the right tools and parts to avoid damaging the faucet. With a little practice and patience, you can fix a leaky faucet like a pro, and enjoy the satisfaction of knowing you did it yourself.
So, the next time you hear the sound of dripping water coming from your faucet, don't reach for the phone to call a plumber. Instead, grab your tools and get to work. With the right knowledge and a bit of elbow grease, you can fix that leaky faucet in no time, and enjoy the peace and quiet of a leak-free home. Whether you're a seasoned DIY enthusiast or just starting out, fixing a leaky faucet is a great way to save money, conserve water, and develop your handyman skills. So, what are you waiting for? Get out there and start fixing those leaks!